


UPDATE 2022/8/12: Check out the improved CloudFormation Fundamentals Introductory Course.
In the last 2 stories, we created an EC2 instance and a Route53 record successfully with CloudFormation. We have yet to walk through the useful update-stack command though. In this post, we’ll use the 2 templates created in the first 2 posts to play around with the update-stack command.
Jumping Right In
We have 2 templates:
- single-instance.yml — has a single ec2 instance
- instance-and-route53.yml — has a ec2 instance and route53 record
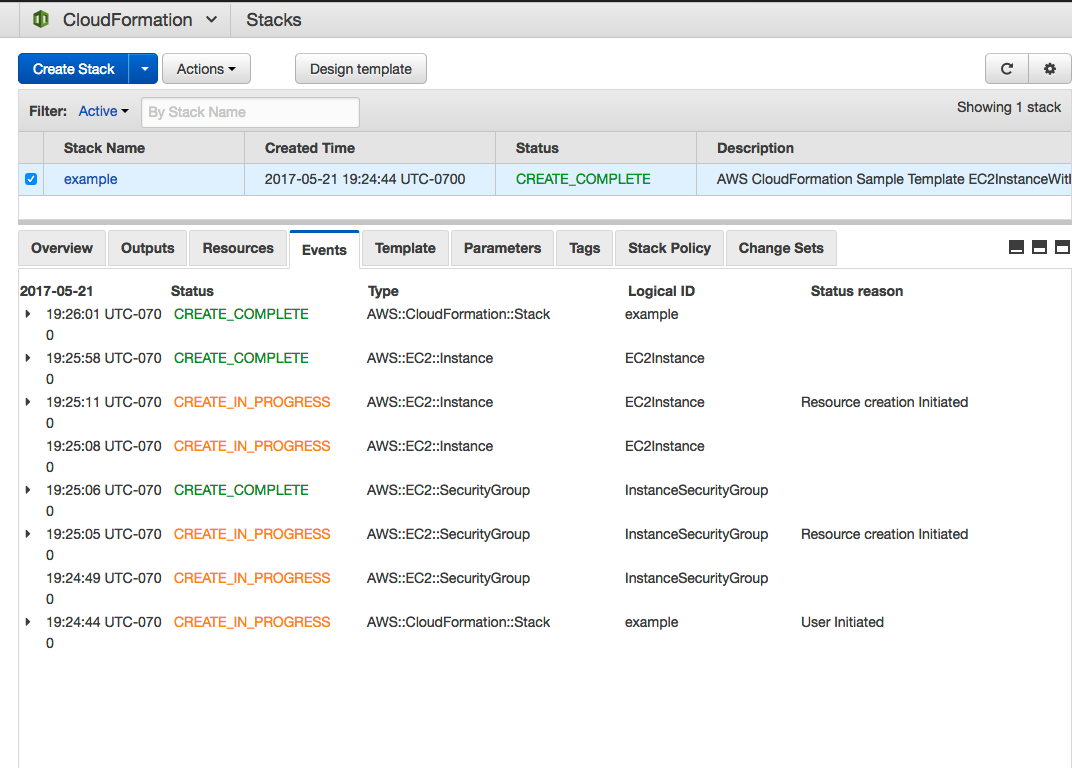
Let’s first create a stack with the single-instance template with:
$ aws cloudformation create-stack --stack-name example --template-body file://templates/single-instance.yml --parameters file://parameters/single-instance.json
You can check on the status of the stack creation via the CloudFormation console.
Now let’s pretend we have updated the single-instance.yml template to the instance-and-route53.yml template and want to update the CloudFormation example stack so that there it will add the route53 record.
You can take a look at the diff of the 2 different templates:
$ diff templates/single-instance.yml templates/instance-and-route53.yml
You should see a diff with the added Parameters and DnsRecord Resource like so:
83a84,89
>   HostedZoneName:
>     Description: The route53 HostedZoneName. For example, "mydomain.com."  Don't forget the period at the end.
>     Type: String
>   Subdomain:
>     Description: The subdomain of the dns entry. For example, hello -> hello.mydomain.com, hello is the subdomain.
>     Type: String
387a394,403
>   DnsRecord:
>     Type: AWS::Route53::RecordSet
>     Properties:
>       HostedZoneName: !Ref 'HostedZoneName'
>       Comment: DNS name for my instance.
>       Name: !Join ['', [!Ref 'Subdomain', ., !Ref 'HostedZoneName']]
>       Type: CNAME
>       TTL: '900'
>       ResourceRecords:
>       - !GetAtt EC2Instance.PublicIp
Updating the Stack
Now let’s run the command to update the stack and add the route53 record:
$ aws cloudformation update-stack --stack-name example --template-body file://templates/instance-and-route53.yml --parameters file://parameters/instance-and-route53.json
You can check on the status of the stack with the AWS CloudFormation console on the Events tab again:
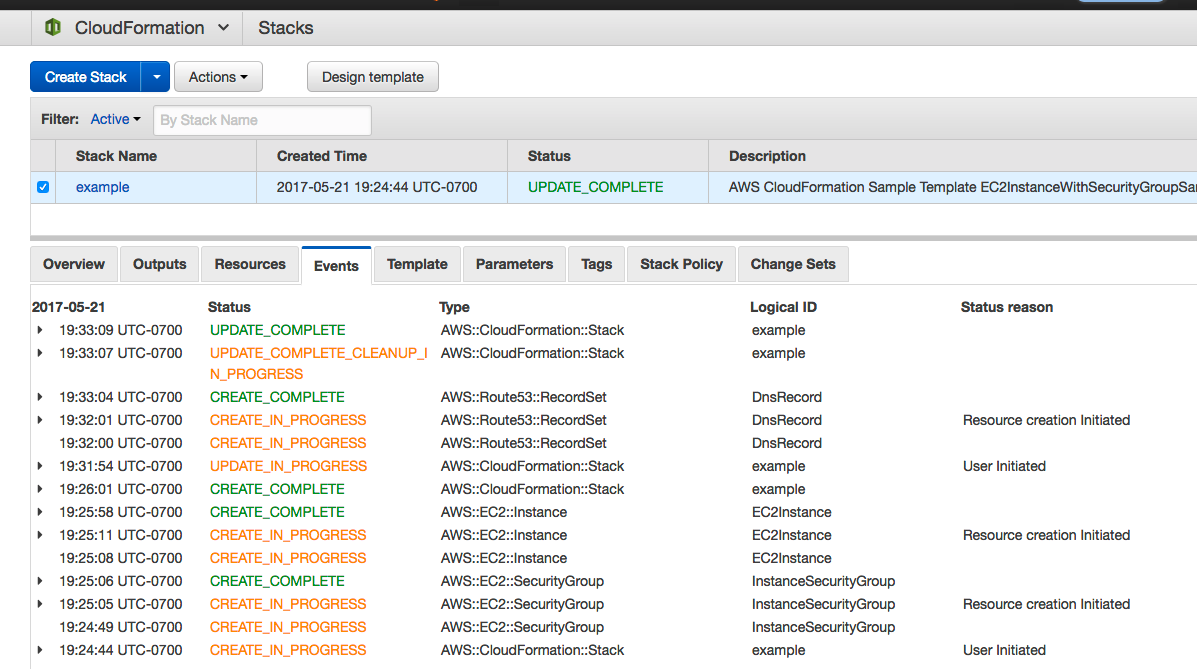
Notice that CloudFormation smartly added the route53 record and associated it with the DNS public hostname of the instance.
Now let’s go ahead and remove the route53 record by updating to the old stack.
aws cloudformation update-stack --stack-name example --template-body file://templates/single-instance.yml --parameters file://parameters/single-instance.json
Here’s the CloudFormation console Events tab again:
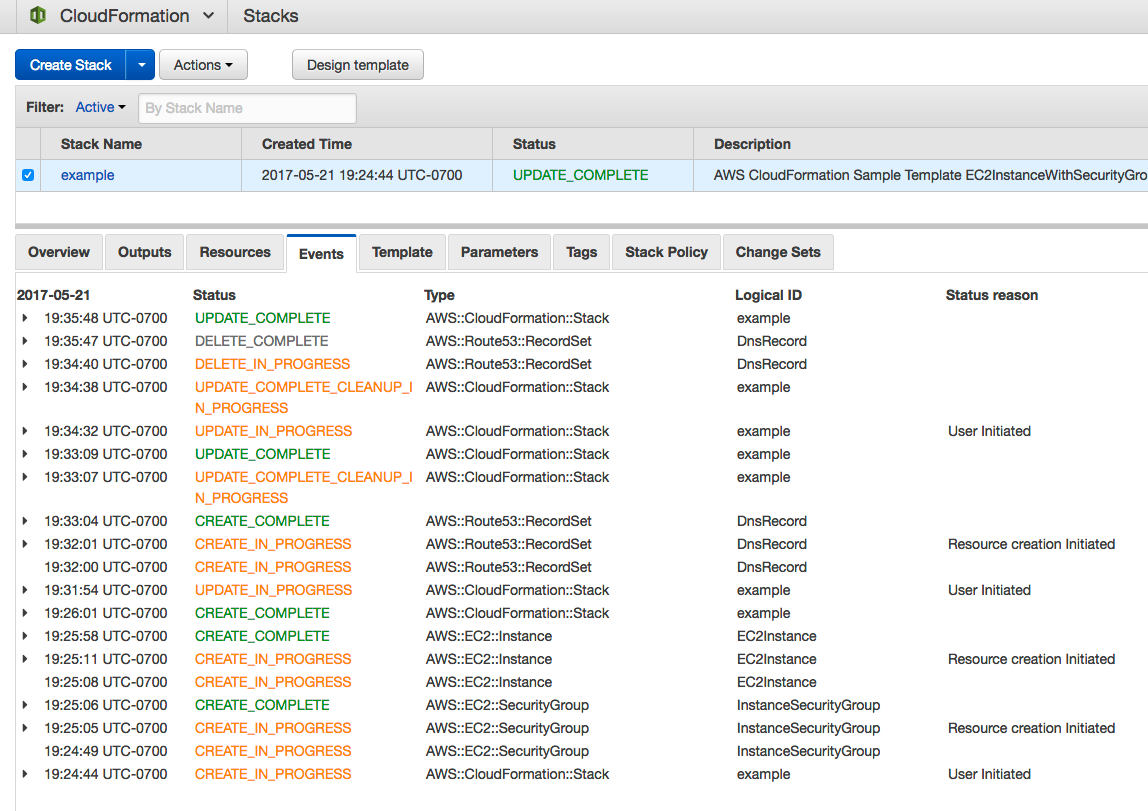
Notice how CloudFormation disassociated the route53 DNS entry and removed the record.
Summary
You have now successfully updated stacks with CloudFormation. This is a common task you will need to learn to develop with CloudFormation. Remember to delete the stack and clean up after yourself. I hope this helps!
In the next post, I’ll show you how to a very cool CloudFormation feature call Change Sets that give you the ability to preview stack updates before making them: A Simple Introduction to AWS CloudFormation Part 4: Change Sets = Dry Run Mode.
Posts in This Series
- A Simple Introduction to AWS CloudFormation Part 1: EC2 Instance
- A Simple Introduction to AWS CloudFormation Part 2: EC2 Instance and Route53
- A Simple Introduction to AWS CloudFormation Part 3: Updating a Stack
- A Simple Introduction to AWS CloudFormation Part 4: Change Sets = Dry Run Mode
You may also be interested in the Lono CloudFormation Framework Introduction Series.