


UPDATE 2022/8/12: Check out the improved CloudFormation Fundamentals Introductory Course.
This is a continuation of A Simple Introduction to AWS CloudFormation.
We will build on top of the first simple CloudFormation template from Part 1, which provisions an EC2 instance and Security Group. We will add to it a Route53 record that points to the EC2 instance’s DNS public hostname. This demonstrates CloudFormation’s ability to “orchestrates” the components of the stack. CloudFormation will wait until the EC2 instance’s DNS public hostname is ready and then create the Route53 record pointing to it.
Add Route53 Record to CloudFormation
First let’s take a look at the AWS CloudFormation documentation that covers a AWS::Route53::RecordSet. It provides an example of how to build a Route53 route which we can build from. I’ve taken that example and modified it so that the stack will create a subdomain based on the parameter being passed in.
Here are the simple changes that were needed in order to add this DNS record. First, I added a AWS::Route53::RecordSet resource under the Resources section.
  DnsRecord:
    Type: AWS::Route53::RecordSet
    Properties:
      HostedZoneName: !Ref 'HostedZoneName'
      Comment: DNS name for my instance.
      Name: !Join ['', [!Ref 'Subdomain', ., !Ref 'HostedZoneName']]
      Type: CNAME
      TTL: '900'
      ResourceRecords:
      - !GetAtt EC2Instance.PublicIp
I also added 2 parameters: HostedZoneName and Subdomain under the Parameters section that the resource requires:
  HostedZoneName:
    Description: The route53 HostedZoneName. For example, "mydomain.com."  Don't forget the period at the end.
    Type: String
  Subdomain:
    Description: The subdomain of the dns entry. For example, hello -> hello.mydomain.com, hello is the subdomain.
    Type: String
The full code diff is here on GitHub: add route53 recordset resource.
This stack requires that the hosted zone in Route53 has already been created. For the purpose of this demo, I’ve created an example.local host zone in Route53.
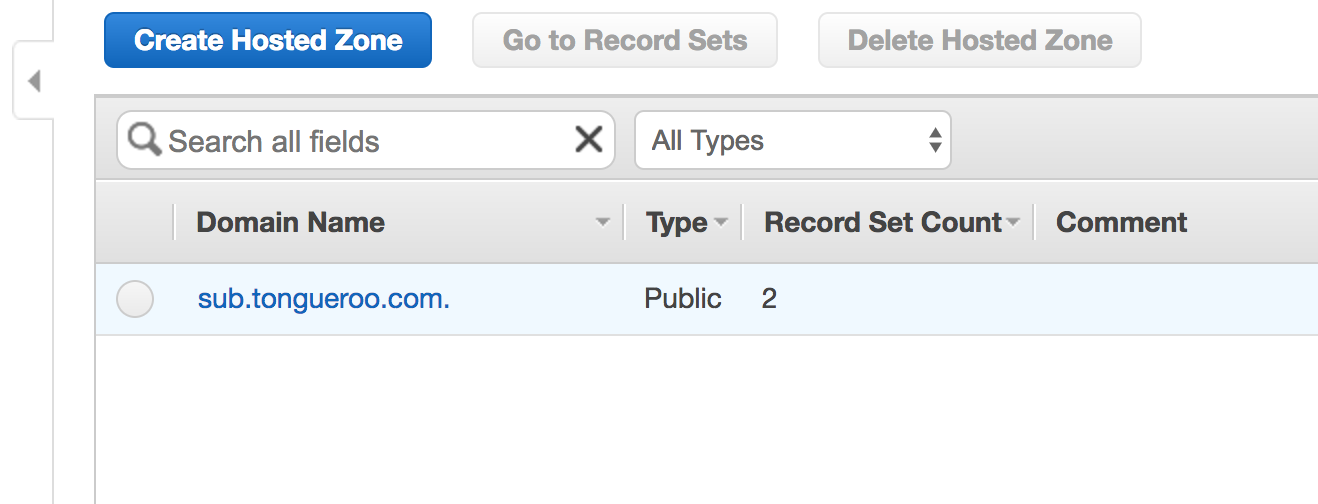
The route that the CloudFormation stack will create is: testdomain.example.local.
Creating the Stack
We now have everything required to launch the stack!
Specifying the parameters all in the CLI starts to get pretty ugly:
aws cloudformation create-stack --template-body file://templates/instance-and-route53.yml --stack-name route53 --parameters ParameterKey=KeyName,ParameterValue=tutorial ParameterKey=InstanceType,ParameterValue=t2.micro ParameterKey=HostedZoneName,ParameterValue=example.local. ParameterKey=Subdomain,ParameterValue=testsubdomain
So I’m using a CloudFormation parameters file instead that looks like this:
[
  {
    "ParameterKey": "KeyName",
    "ParameterValue": "tutorial"
  },
  {
    "ParameterKey": "InstanceType",
    "ParameterValue": "t2.micro"
  },
  {
    "ParameterKey": "HostedZoneName",
    "ParameterValue": "example.local."
  },
  {
    "ParameterKey": "Subdomain",
    "ParameterValue": "testsubdomain"
  }
]
The final CloudFormation create-stack command is:
aws cloudformation create-stack --template-body file://templates/instance-and-route53.yml --stack-name route53 --parameters file://parameters/instance-and-route53.json
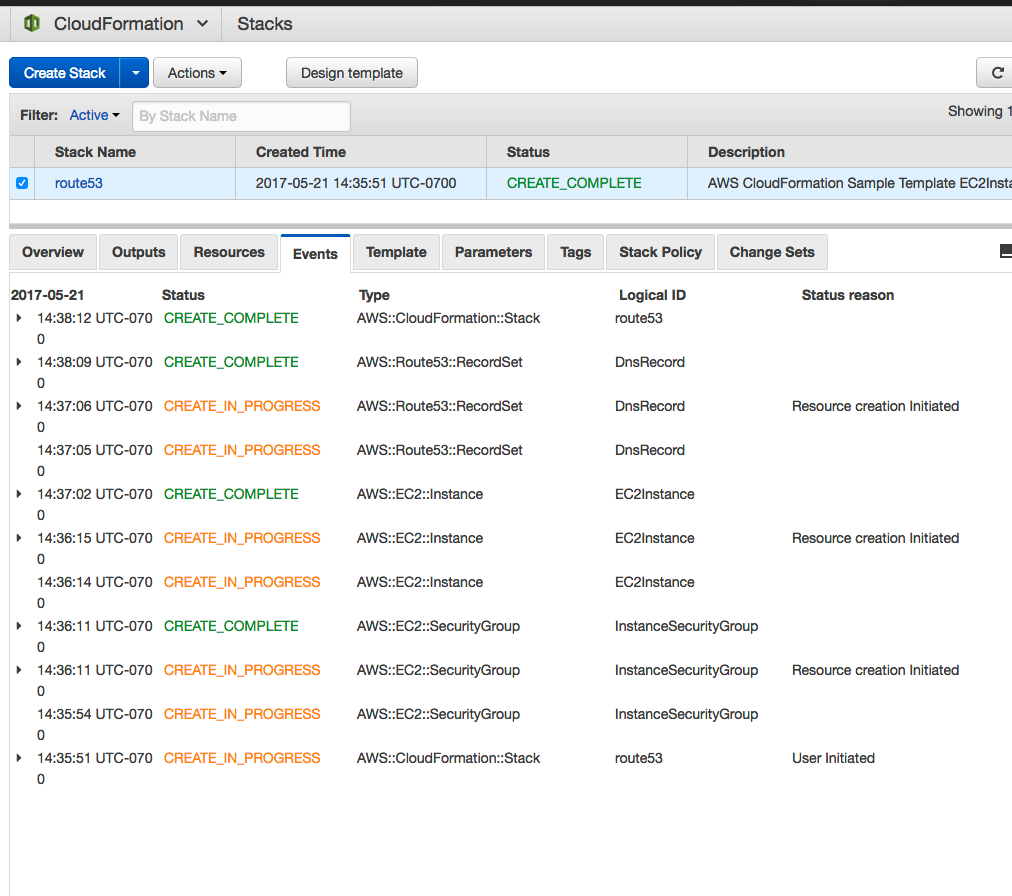
After launching the stack you can check on it’s status via the CloudFormation console. It looks similar to this:
Clean Up
Delete the stack at the end now:
aws cloudformation delete-stack --stack-name route53
Summary
You can see the EC2 instance and Route53 record all got created in about 3 minutes. Also noticed that you did not have to tell CloudFormation anything about the ordering of how the resources needed to be created. CloudFormation was smart enough to figure that it needed to first create the EC2 instance and then the Route53 record. It takes orchestration, something that is pretty complicated and makes it very simple.
Hopefully, you are starting to see that CloudFormation is not that complicated but gives you a lot of power. We have barely touched the surface of CloudFormation in these introductory tutorials. You can create AutoScaling groups, ELBs, VPCs, Subnets and many more resources with CloudFormation. To browse through all the possibilities you can look at the AWS Resource Type Reference documentation for a very long list all the resources CloudFormation supports.
In the next post, I’ll show you how to update existing CloudFormation stacks: A Simple Introduction to AWS CloudFormation Part 3: Updating a Stack.
Posts in This Series
- A Simple Introduction to AWS CloudFormation Part 1: EC2 Instance
- A Simple Introduction to AWS CloudFormation Part 2: EC2 Instance and Route53
- A Simple Introduction to AWS CloudFormation Part 3: Updating a Stack
- A Simple Introduction to AWS CloudFormation Part 4: Change Sets = Dry Run Mode
You may also be interested in the Lono CloudFormation Framework Introduction Series.