


Jets, a Ruby Serverless Framework, makes use of API Gateway Binary Support to make uploading images and files from AWS Lambda a straightforward task. We’ll cover how to upload images or any file with Jets and Carrierwave in this tutorial guide. Note, please use Jets v1.3.1 and above for this tutorial guide as the jets new generator was updated for it. Here’s the Live Demo of this tutorial. The full source code is on Github: tongueroo/jets-example-upload.
Brand New App
Create a brand new Jets app with scaffolding.
gem install jets
jets new upload
cd upload
jets generate scaffold Post title:string photo:string
vim .env.development # edit with local db settings
jets db:create db:migrate
jets server
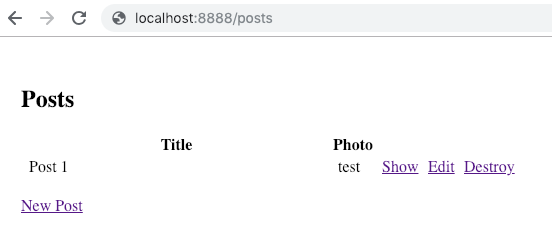
The app has a Post model with title and photo fields. You should be able to now go to http://localhost:8888/posts, create a Post record, and see something like this:
Update Form
The starter scaffold provided us with basic CRUD abilities. However, the form does not handle uploading files yet. We’ll modify it so it does. Do the following to add a file input field:
- Update the form with
multipart: true - IMPORTANT: Get rid of the:
<input type="hidden" name="_method" value="put" />- For multipart form data, we need to route the request and POST to the resource. - Replace
<%= text_field_tag "post[photo]", post.photo %>with<%= file_field_tag "post[photo]" %>
The form html should look something like this:
<%= form_tag(action, multipart: true) do %>
<div class="field">
  <%= label_tag :title %> <%= text_field_tag "post[title]", post.title %>
</div>

<div class="field">
  <%= label_tag :photo %> <%= file_field_tag "post[photo]" %>
</div>
...
Here’s the full source code of the form.
Upload the form again and you’ll notice that a text field value gets save to something like this now: #<ActionDispatch::Http::UploadedFile:0x00007fbe42cd1948>
By changing the form to send multipart data, the controller now receives an ActionDispatch::Http::UploadedFile object. The #<ActionDispatch::Http::UploadedFile:0x00007fbe42cd1948> is a String representation of the file handle. We’re getting closer. This is the first step to getting image uploads working.
Enter Carrierwave
Now we’ll add the carrierwave and fog-aws gems to save the actual uploaded data instead of just a text String representation of the upload. Add the following to your Gemfile:
gem "carrierwave", git: "https://github.com/tongueroo/carrierwave.git"
gem "fog-aws" # to use s3 as the storage backend
Note: we’re using a fork of Carriewave which adds Jets support via Turbines.
$ bundle install
$ jets generate uploader Photo
      create  app/uploaders/photo_uploader.rb
Enable the uploader by overriding the Post model photo setter and getter methods with mount_uploader.
app/models/post.rb:
require 'carrierwave/orm/activerecord'

class Post < ApplicationRecord
  mount_uploader :photo, PhotoUploader # overrides photo
end
Change CarrierWave to S3 Storage
By default, the generated CarrierWave uploader persists the upload to the filesystem. In the Serverless world, this doesn’t make sense. Instead, we’ll configure the uploader to save to s3.
Open up photo_uploader.rb and make sure that storage: fog is used instead of the default storage: file.
class PhotoUploader < CarrierWave::Uploader::Base
  storage :fog # we want to use the fog backend for s3 support
  # ...
end
Add an config/initializers/carrierwave.rb:
CarrierWave.configure do |config|
  config.fog_provider = 'fog/aws'
  config.fog_credentials = {
    provider:              'AWS',
    aws_access_key_id:     ENV['CARRIERWAVE_AWS_ACCESS_KEY_ID'],
    aws_secret_access_key: ENV['CARRIERWAVE_AWS_SECRET_ACCESS_KEY'],
    # use_iam_profile:       true,                         # optional, defaults to false
    region:                ENV['CARRIERWAVE_AWS_REGION'],
  }
  config.fog_directory  = ENV['CARRIERWAVE_S3_BUCKET']
  config.fog_public     = true                                                  # optional, defaults to true
  config.fog_attributes = { cache_control: "public, max-age=#{1.hour.to_i}" } # optional, defaults to {}
end
CarrierWave uses it’s own homegrown AWS client internally instead of the aws-sdk and currently does not support the use of AWS_PROFILE. So we’ll need to create an IAM user and generate AWS access key for it. For the instructions to create AWS access keys refer to these docs: How do I create an AWS access key?
Next, create the s3 bucket:
$ aws s3 mb s3://demo-uploads-$(date +%s)
make_bucket: demo-uploads-1544733003
We’re using date +%s to just add a timestamp to the bucket name. Note the S3 bucket name in my case is demo-uploads-1544733003, yours will be different.
Add these values to the .env.development file so they get picked up by config/initializers/carrierwave.rb. You can use a different .env.production file for different settings like an s3 bucket. We’re working only with .env.development for the sake of this tutorial.
It should look something like this:
.env.development:
CARRIERWAVE_AWS_ACCESS_KEY_ID=AKIAI7KI5LIKEXAMPLE
CARRIERWAVE_AWS_SECRET_ACCESS_KEY=XOGuscz2lNyGFo1ChFntigzBp3IMMGdEXAMPLE
CARRIERWAVE_AWS_REGION=us-west-2
CARRIERWAVE_S3_BUCKET=demo-uploads-1544733003 # remember yours will be different
Test CarrierWave
Now we’re ready to start the server and test real uploading with CarrierWave:
jets server
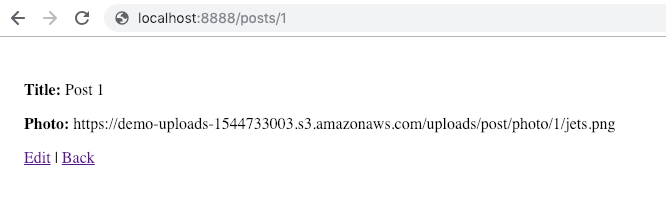
Go through the http://localhost:8888/posts form again and upload an image. This time you should see that the photo field has an s3 url. Something like: https://demo-uploads-1544733003.s3.amazonaws.com/uploads/post/photo/1/jets.png
Let’s change the show page so that the photo shows up, change the photo ERB line to <%= image_tag(@post.photo) %>. The code should look something like this:
app/views/posts/show.html.erb:
<p>
  <strong>Photo:</strong>
  <%= image_tag(@post.photo) %>
</p>
The posts show page now looks like this:
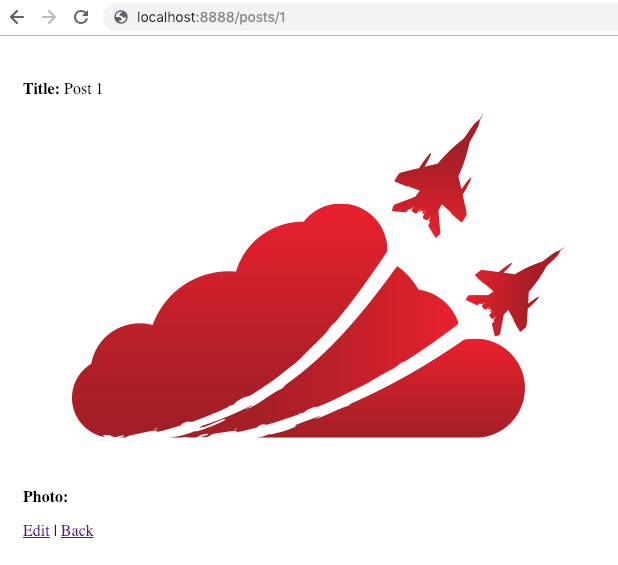
We have successfully uploaded an image to s3 locally! 🎉
Deploy to AWS Lambda
Before deploying to AWS Lambda, adjust your .env.development.remote to point to an RDS database. Setting up an RDS database is covered in Step 1: Create an RDS DB Instance. It is also briefly mentioned in this video: Jets Tutorial Deploy to AWS Lambda Part 2: AWS Lambda Ruby.
Also, remember to migrate your remote database:
$ JETS_ENV_REMOTE=1 jets db:create db:migrate
Now we’re ready to deploy:
$ jets deploy
...
https://mf3z5ou0b1.execute-api.us-west-2.amazonaws.com/dev/
Go to the url provided at the end of the deploy. You should be able to upload the same way you did locally and should see a similar posts show page:
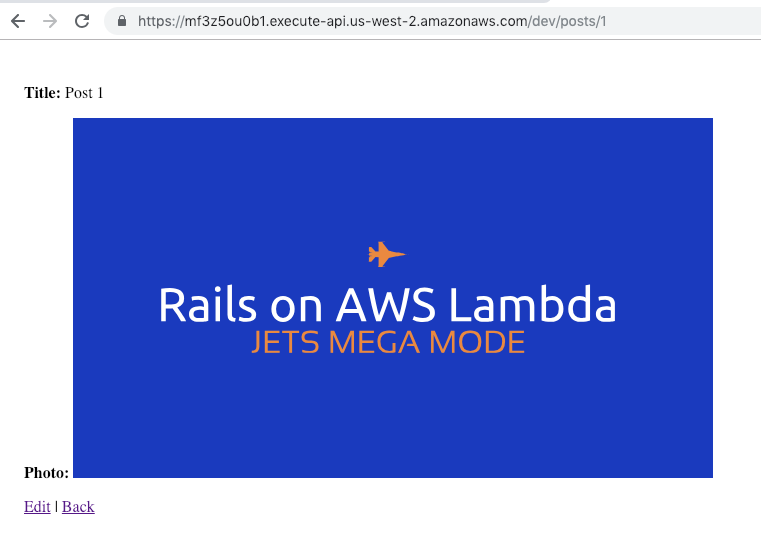
That’s it! We have successfully uploaded photos to s3 with API Gateway and AWS Lambda. Here’s the Live Demo of this tutorial again. The full source code is on Github: tongueroo/jets-example-upload. Hope you’ve enjoyed this article. If you find Ruby on Jets interesting, please give it ⭐️ on GitHub. I’d appreciate it. 👍
More info
- For an Jets Introduction: Introducing Jets: A Ruby Serverless Framework.
- Also more info at: Jets documentation site.
Jets Links and Tutorial Series
- Introducing Jets: A Ruby Serverless Framework
- Toronto Serverless Presentation: Jets Framework
- Jets Afterburner: Serverless Rails in 5 Minutes
- Mega Mode: Rails on AWS Lambda
- An Introductory CRUD App Part 1
- Deploy to AWS Lambda Part 2
- Debugging Logs Part 3
- Background Jobs Part 4
- IAM Policies Part 5
- Function Properties Part 6
- Extra Environments Part 7
- Different Environments Part 8
- Polymorphic Support Part 9
- Jets Delete Tutorial
- Jets Image Uploads Tutorial with CarrierWave
- Cron Job Tutorial: Backup Route53
- Build an API with the Jets Ruby Serverless Framework