


In this post, we’ll cover Lono Layering. Layering can be used to build separate environments like a development and production environment. For example, the production environment might have different instance sizes. This can be accomplished with Lono layering.
Params
We covered Params configs in the previous article. Here it is again for review.
configs/demo/params
├── base.txt
├── development.txt
└── production.txt
Notice the base.txt file. Lono layering will use the base.txt and then “layers” the LONO_ENV specific file on top.
So:
LONO_ENV=development lono cfn deploy demo
Will use both:
params/base.txt
params/development.txt
And
LONO_ENV=production lono cfn deploy demo
Will use:
params/base.txt
params/production.txt
Examples with Values
params/base.txt:
InstanceType=t3.micro
params/development.txt:
# empty file
params/production.txt:
InstanceType=t3.large
In this case:
- LONO_ENV=development would use
InstanceType=t3.microfrom base.txt - LONO_ENV=production would use
InstanceType=t3.largefrom production.txt
Variables
Here’s the variables structure:
configs/demo/variables
├── base.rb
├── development.rb
└── production.rb
Variables layering works the same as Params layering. Example:
base.rb:
@desc = "generic description from base.rb"
development.rb
@desc = "description from development.rb"
In this case:
LONO_ENV=development lono cfn deploy demo
Will use the @desc value from development.rb.
If the production.rb does not exist or is empty, then:
LONO_ENV=production lono cfn deploy demo
Will use the @desc value from base.rb.
Demo
We’ll continue to use the EC2 instance example from previous posts to demonstrate Layering.
Add to and edit the configs files with the values above. The source code is also here: tongueroo/lono-cloudformation-examples tutorial-4 configs
Confirm that the @desc variable is being used in the template. It’ll look like this:
blueprints/demo/app/templates/demo.rb
description @desc
Then deploy both environments with different stack names using these commands:
LONO_ENV=development lono cfn deploy demo-development --blueprint demo
LONO_ENV=production  lono cfn deploy demo-production  --blueprint demo
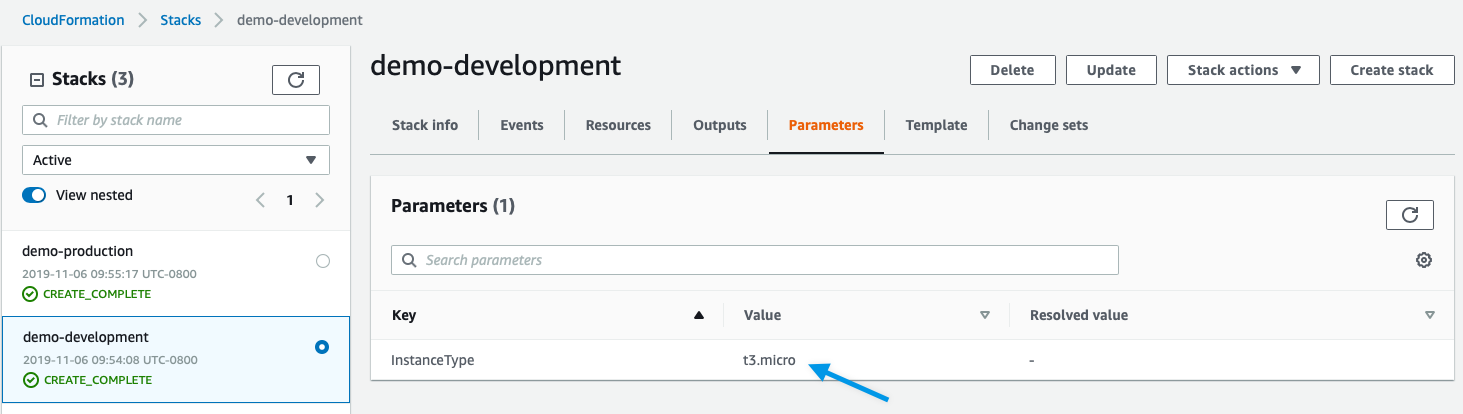
Let’s check the CloudFormation console for demo-development:
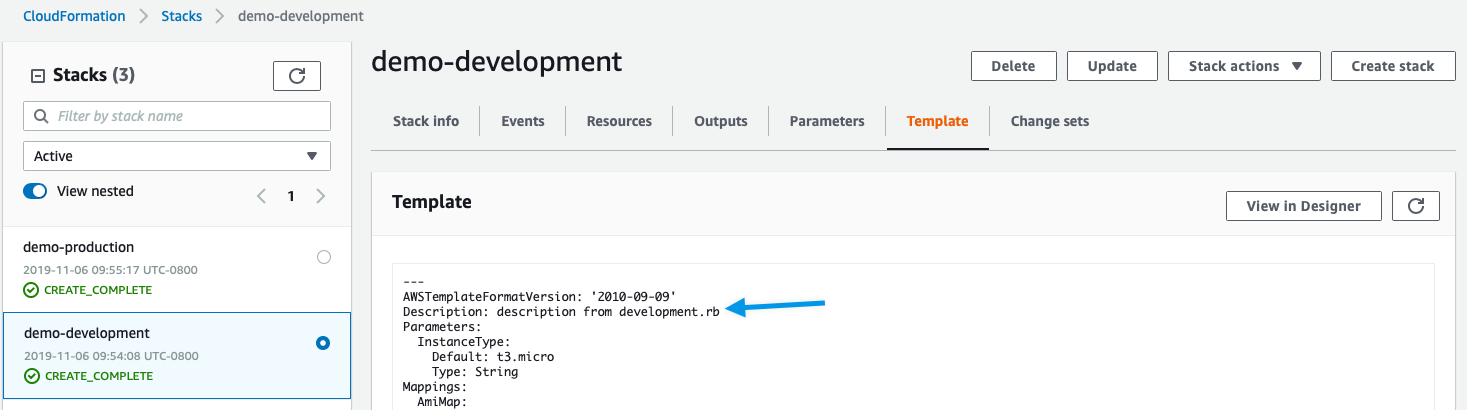
The demo-development template:
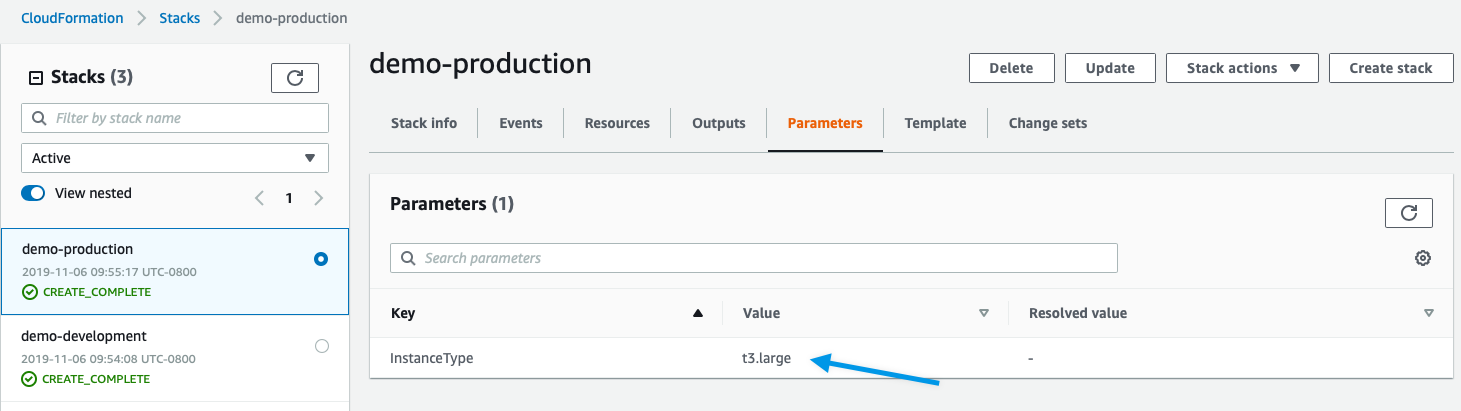
Now check that the demo-production stack values are different:
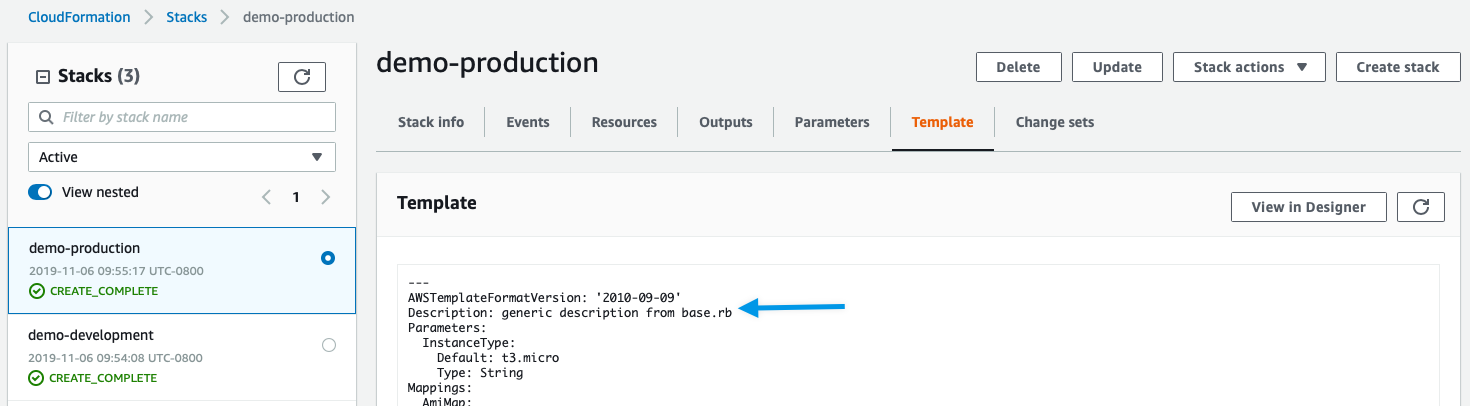
The demo-production template:
Cleanup
Let’s destroy the resources so we do not get charged more money than we have to. This is simple.
LONO_ENV=development lono cfn delete demo-development --sure --no-wait
LONO_ENV=production  lono cfn delete demo-production  --sure --no-wait
Summary
This was a brief introduction to Layering support in Lono. Layering essentially merges multiple files to produce a final result. Layering is useful for building multiple environments like development and production. By using Layering, we stay DRY and use the same blueprints for different environments. In the next post of this series, we’ll cover one of my favorite commands: lono code convert.