

In this blog post, I’ll cover how to build a simple API service on AWS Lambda with the Jets Ruby Serverless Framework.
Jets New API Mode
The jets new command has a few different modes: html, api, and job. We’ll use the handy api mode for this tutorial to create a starter project designed for APIs.
jets new demo --mode api
cd demo
We’ve successfully generated a starter Jets project. The nice thing about api mode is that it generates a lighter starter project that does not include things not needed like bootstrap and webpacker assets.
We are ready to now add some API code.
Scaffold
We’ll use a scaffold to generate some basic CRUD.
jets generate scaffold Post title:string
vim .env.development # adjust to your local database creds
jets db:create db:migrate
Local Testing
Let’s seed some data by creating a db/seeds.rb:
3.times do |i|
  Post.create(title: "Title #{i+1}")
end
puts "Seeding data completed"
Here’s the command to load the db/seeds.rb data:
jets db:seed
Now let’s do some quick local testing with jets console.
$ jets console
>> item = Post.find(1)
>> item.title = "Title 1 Edit"
>> item.save!
We can also test with a local server with jets server:
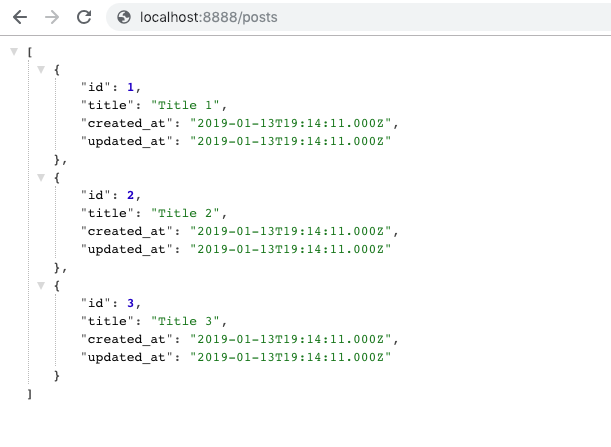
jets server # Check out site at http://localhost:8888/posts
Check out the API at http://localhost:8888/posts, it should look something like this:
Since this is an API, we can also test with curl. Here’s how we create a data.json file and send it via curl.
cat << 'EOF' > data.json
{
  "post": {
    "title": "My Test Post 1"
  }
}
EOF
curl -i -X POST http://localhost:8888/posts -H 'Content-Type: application/json' --data @data.json
The curl output looks something like this:
$ curl -i -X POST http://localhost:8888/posts -H 'Content-Type: application/json' --data @data.json
HTTP/1.1 201 Created
Access-Control-Allow-Origin: *
Access-Control-Allow-Credentials: true
Content-Type: application/json
X-Jets-Base64: no
X-Runtime: 0.115564
Server: WEBrick/1.4.2 (Ruby/2.5.3/2018-10-18)
Date: Sun, 13 Jan 2019 19:21:00 GMT
Content-Length: 113
Connection: Keep-Alive

{"id":4,"title":"My Test Post 1","created_at":"2019-01-13T19:20:59.000Z","updated_at":"2019-01-13T19:20:59.000Z"}
$
Deploy
Before we deploy, we need to create a database that AWS Lambda will have access to. You can follow the AWS RDS docs. Step 1: Create an RDS DB Instance. It is also briefly mentioned in this video: Jets Tutorial Deploy to AWS Lambda Part 2: AWS Lambda Ruby.
We’ll also have to create and migrate the RDS database.
$ vim .env.development.remote # configure a remote RDS DB
$ JETS_ENV_REMOTE=1 jets db:create db:migrate
Once that is completed, let’s deploy our application to AWS Lambda.
$ jets deploy
07:28:53PM UPDATE_COMPLETE AWS::CloudFormation::Stack demo-dev
Stack success status: UPDATE_COMPLETE
Time took for stack deployment: 2m 27s.
Prewarming application.
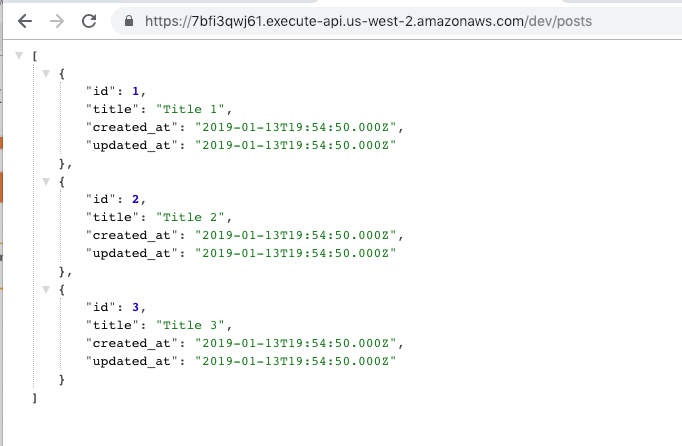
API Gateway Endpoint: https://7bfi3qwj61.execute-api.us-west-2.amazonaws.com/dev/
$
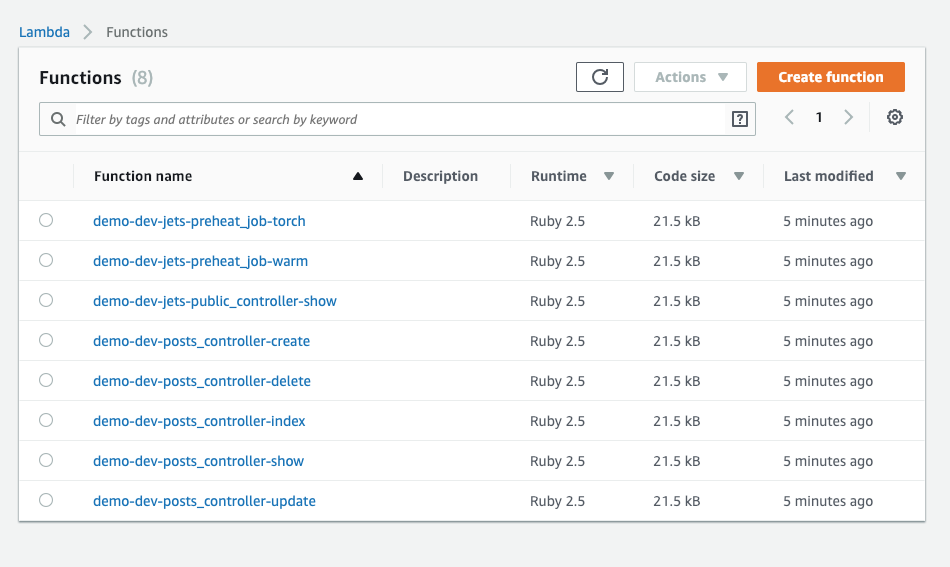
At the end of the deploy, you’ll see the API Gateway url that looks something like this https://7bfi3qwj61.execute-api.us-west-2.amazonaws.com/dev/. Note, your URL will be different. Go to that url, and you’ll see something like this:
You’ll be able to see the Lambda functions.
You’ll also be able to see the API Gateway resources.

Testing It
We’ll use the curl commands again to create some posts with AWS Lambda using the data.json file we created earlier.:
$ curl -X POST https://7bfi3qwj61.execute-api.us-west-2.amazonaws.com/dev/posts -H 'Content-Type: application/json' --data @data.json
{"id":7,"title":"My Test Post 1","body":null,"published":null,"created_at":"2019-01-13T19:34:29.000Z","updated_at":"2019-01-13T19:34:29.000Z"}
$
Extra Environments
An interesting benefit of running applications on AWS Lambda is that you only get charged for actual requests. So extra environments are likely in the AWS free tier. You could do this:
JETS_ENV_EXTRA=2 jets deploy
JETS_ENV_EXTRA=3 jets deploy
...
JETS_ENV_EXTRA=8 jets deploy
You essentially get unlimited free environments, each of them taking a few minutes to provision.
Live Demo
A live demo of this tutorial is available at https://api.demo.rubyonjets.com.
That’s it! That’s all it took to create a RESTful API on AWS Lambda with the Jets Ruby Serverless Framework.
Hope you’ve enjoyed this article. If you find Ruby on Jets interesting, please give it ⭐️ on GitHub. I’d appreciate it. 👍
More info
- For an Jets Introduction: Introducing Jets: A Ruby Serverless Framework.
- Also more info at: Jets documentation site.
Jets Links and Tutorial Series
- Introducing Jets: A Ruby Serverless Framework
- Toronto Serverless Presentation: Jets Framework
- Jets Afterburner: Serverless Rails in 5 Minutes
- Mega Mode: Rails on AWS Lambda
- An Introductory CRUD App Part 1
- Deploy to AWS Lambda Part 2
- Debugging Logs Part 3
- Background Jobs Part 4
- IAM Policies Part 5
- Function Properties Part 6
- Extra Environments Part 7
- Different Environments Part 8
- Polymorphic Support Part 9
- Jets Delete Tutorial
- Jets Image Uploads Tutorial with CarrierWave
- Cron Job Tutorial: Backup Route53
- Build an API with the Jets Ruby Serverless Framework